Essential HVAC System Installation Steps
- Екатерина Смирнова
- May 4
- 5 min read

Updated: May 5
The installation of an HVAC system is a critical process that demands precision, expertise, and adherence to industry standards. Proper installation ensures optimal performance, energy efficiency, and longevity of the system. This guide provides a comprehensive overview of the essential steps involved in installing an HVAC system, designed to assist homeowners and general contractors in understanding the technical requirements and best practices.
Understanding HVAC System Installation Steps
The installation process begins with a thorough assessment of the property to determine the appropriate system size and type. This step is crucial to avoid issues such as inadequate heating or cooling and excessive energy consumption. The following steps outline the typical sequence of an HVAC system installation:
Load Calculation and System Selection
A detailed load calculation is performed using Manual J or equivalent software to evaluate the heating and cooling needs of the building. Factors such as square footage, insulation quality, window placement, and local climate are considered. Based on this analysis, the correct HVAC system size and model are selected.
Site Preparation
The installation area is prepared by clearing obstructions and ensuring proper ventilation. Electrical and ductwork pathways are inspected and modified if necessary to accommodate the new system components.
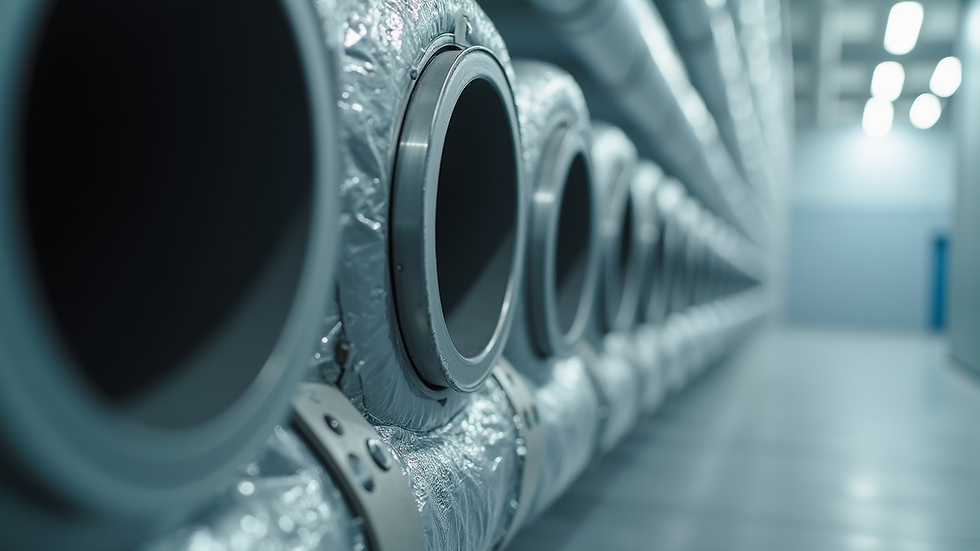
Ductwork Installation or Modification
Existing ductwork is evaluated for leaks, damage, or inefficiency. New ductwork is installed or existing ducts are sealed and insulated to optimize airflow and energy efficiency.
Mounting the Indoor and Outdoor Units
The indoor air handler or furnace is installed in a designated space, typically a utility room or basement. The outdoor condenser unit is placed on a stable, level surface with adequate clearance for airflow and maintenance access.
Refrigerant Line and Electrical Connections
Refrigerant lines are carefully routed between the indoor and outdoor units, ensuring proper insulation and secure fittings. Electrical wiring is connected following local codes and manufacturer specifications.
System Charging and Testing
The system is charged with the appropriate refrigerant amount. Comprehensive testing is conducted to verify correct operation, including airflow measurements, temperature differentials, and safety controls.
Final Inspection and User Orientation
A final inspection ensures compliance with all regulations and manufacturer guidelines. The homeowner or contractor is provided with operational instructions and maintenance recommendations.
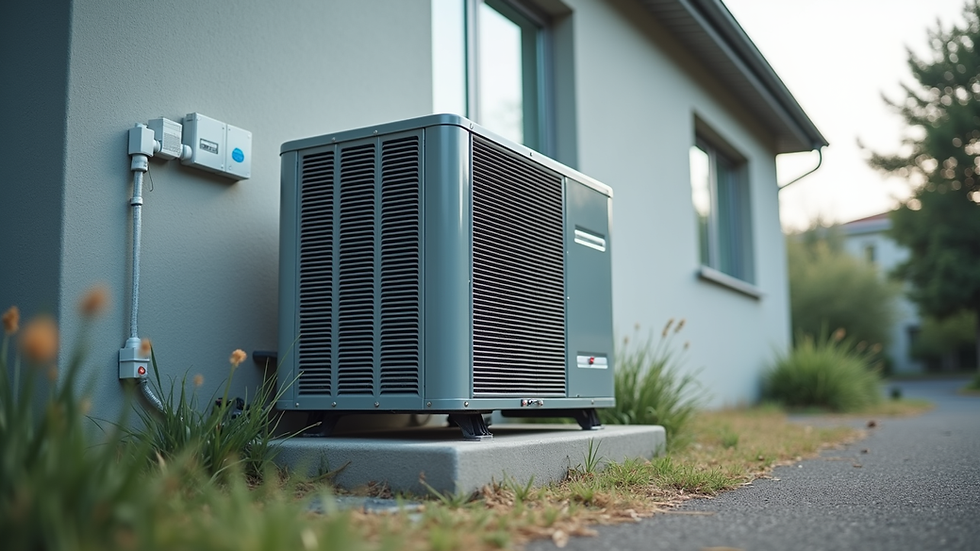
What is the 2 Foot Rule in HVAC?
The 2 foot rule in HVAC installation refers to the minimum clearance required around certain HVAC components, particularly outdoor condenser units. This rule mandates at least two feet of unobstructed space on all sides of the unit to ensure adequate airflow and prevent overheating. Compliance with this rule is essential for maintaining system efficiency and prolonging equipment life.
For example, placing the condenser too close to walls, shrubs, or other obstructions can restrict airflow, causing the unit to work harder and consume more energy. Additionally, sufficient clearance facilitates routine maintenance and repairs, reducing service time and costs.
Adhering to the 2 foot rule is a standard practice recommended by manufacturers and local building codes. It is advisable to verify specific clearance requirements for the chosen HVAC model during the planning phase.
Proper Electrical and Refrigerant Line Installation
Electrical wiring and refrigerant line installation are critical components of the HVAC system setup. These elements must be handled with precision to ensure safety and system functionality.
Electrical Wiring: All electrical connections should comply with the National Electrical Code (NEC) and local regulations. Dedicated circuits with appropriate breakers are required for HVAC units. Grounding and bonding must be properly executed to prevent electrical hazards.
Refrigerant Lines: The refrigerant lines, typically copper tubing, must be insulated to prevent energy loss and condensation. Proper brazing techniques are essential to avoid leaks. The lines should be routed to minimize bends and length, reducing pressure drops and improving efficiency.
Leak detection tests and pressure checks are mandatory after installation to confirm the integrity of the refrigerant circuit. Any detected leaks must be repaired before system startup.
Importance of Proper Ventilation and Airflow
Ensuring adequate ventilation and airflow is fundamental to the performance of an HVAC system. Poor airflow can lead to uneven temperature distribution, increased energy consumption, and premature equipment failure.
Key considerations include:
Duct Design: Ducts should be sized according to Manual D standards to match the system’s airflow requirements. Oversized or undersized ducts can cause noise, pressure imbalances, and reduced comfort.
Air Filters and Return Air: Proper placement and sizing of return air grilles and filters are necessary to maintain indoor air quality and system efficiency. Filters should be accessible for regular replacement.
Ventilation Requirements: Mechanical ventilation may be required to ensure adequate fresh air exchange, especially in tightly sealed homes. This prevents indoor air pollutants from accumulating and maintains healthy indoor environments.
Regular inspection and maintenance of ductwork and ventilation components are recommended to sustain optimal system operation.
Post-Installation Testing and Maintenance Recommendations
After the HVAC system installation is complete, thorough testing is essential to verify that all components function correctly and efficiently. This includes:
System Startup and Calibration: The system should be started and monitored for proper cycling, temperature control, and noise levels. Thermostats and controls must be calibrated for accurate operation.
Airflow and Pressure Testing: Measurements of airflow rates and static pressure help identify any restrictions or imbalances in the duct system.
Refrigerant Charge Verification: Ensuring the refrigerant charge matches manufacturer specifications is critical for system efficiency and compressor longevity.
Safety Checks: All safety devices, such as pressure relief valves and electrical disconnects, must be tested.
Following installation, a routine maintenance schedule should be established. Recommended practices include:
Regular Filter Replacement: Filters should be changed every 1 to 3 months depending on usage and filter type.
Annual Professional Inspection: A qualified technician should inspect the system annually to clean components, check refrigerant levels, and identify potential issues.
Duct Cleaning and Sealing: Periodic duct cleaning and sealing improve air quality and system efficiency.
Adhering to these maintenance guidelines will maximize the HVAC system’s lifespan and performance.
Ensuring Compliance and Professional Standards
Compliance with local building codes, manufacturer instructions, and industry standards is mandatory throughout the HVAC installation process. Permits and inspections may be required by municipal authorities to verify that the installation meets safety and performance criteria.
Engaging licensed and experienced professionals for installation ensures adherence to these requirements. Proper documentation, including load calculations, equipment specifications, and inspection reports, should be maintained for future reference.
The hvac system installation guide provides detailed information and resources to support compliance and best practices.
The installation of an HVAC system is a complex task that requires careful planning, technical knowledge, and attention to detail. By following the outlined steps and recommendations, the system will deliver reliable, efficient, and comfortable climate control for years to come.


Comments